| Upscaled Quest Intruder | 1 2 3 4 5 6 7 8 9 10 11 12 13 14 15 | ||

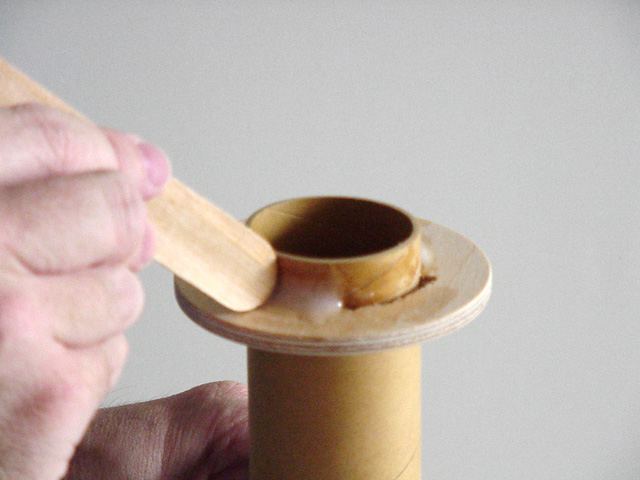 Well, here I am setting a bad example by applying epoxy without wearing
gloves. Actually, this is a reenactment, intended to show my application
technique.
Well, here I am setting a bad example by applying epoxy without wearing
gloves. Actually, this is a reenactment, intended to show my application
technique. |
March 15, 2002
. |
|
 Once the epoxy is applied, I keep a careful watch on it. I will occasionally
invert the motor tube like an hourglass to keep the distribution as
even as possible. If your easily distracted or have tendency to doze
off, you might want some wax paper and newspaper under this.
Once the epoxy is applied, I keep a careful watch on it. I will occasionally
invert the motor tube like an hourglass to keep the distribution as
even as possible. If your easily distracted or have tendency to doze
off, you might want some wax paper and newspaper under this. |
||
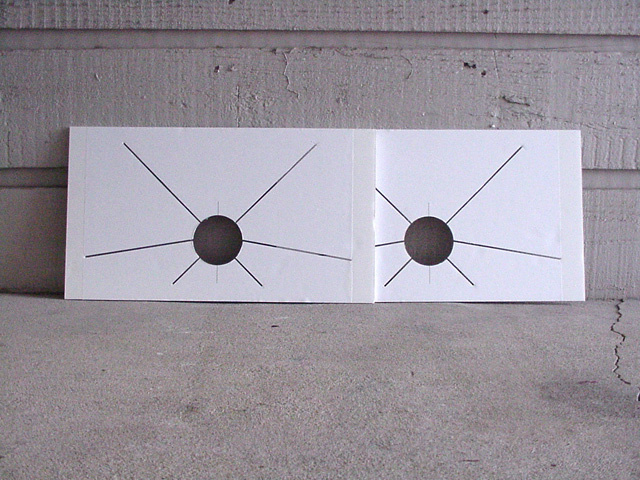 |
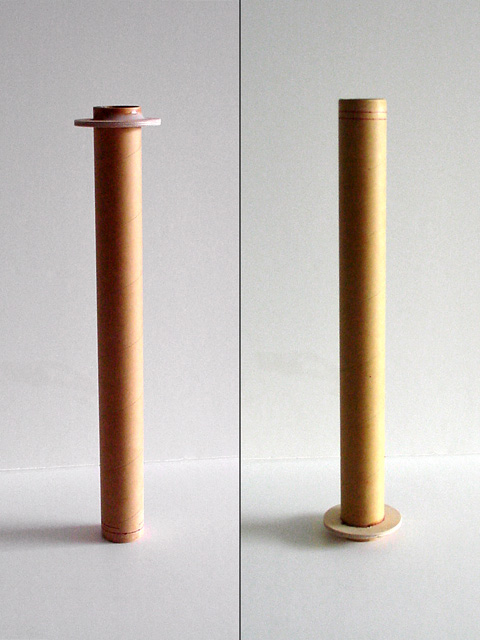
March 16, 2002 I had a little bit of a shock the first time I tried to align the two templates. They weren't lining up. Eventually, I realized I had forgotten to align the two templates horizontally. A minor adjustment to each template got everything back on track quickly. Hindsight: |
|
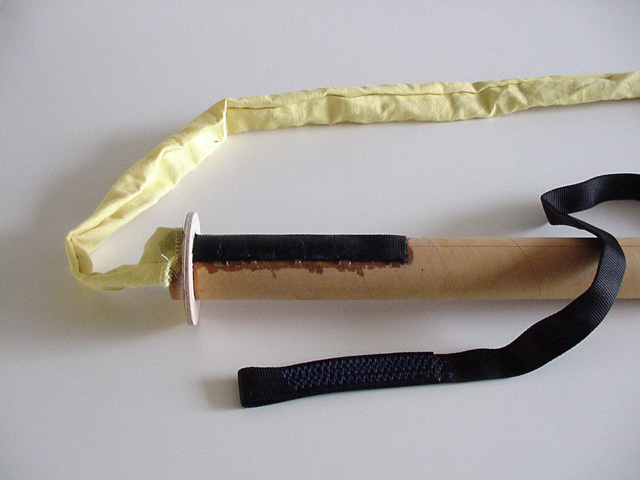 |
Attaching the Shockcord A 1" tubular nylon strap and nomex sleeve from Giant Leap Rocketry were bonded to the motor mount in standard PML fashion using West System Epoxy. I try to make sure the nomex sleeve extends below the forward edge of the motor tube. |
|
| Upscaled Quest Intruder | previous next | ||
© 2002 SkyPirate |
|||